One of the simplest forms of wall decoration is the painting of the wall and this can make a lot of difference to a room.
Regardless of whether you are repainting a room that you’re already familiar with, or creating a completely new space, being able to paint a wall correctly is crucial if you want your finished result to be perfect.
This easy-to-follow guide will lead you step by step right from the preparation of the wall to the final stages of painting the wall.
Gather Your Supplies
The first thing which should be done before painting is to prepare all the required materials and tools. That way all the needed items and documents will be at your fingertips and the process will run more smoothly. Here’s what you’ll need:
Paint: Decide about the type of paint and hue of color that best suits you for your wall. and the required amount of reflection: matte, satin, and gloss and the lighting of the room to be painted.
Primer: Primer is also good for hiding the blemishes and it provides the paint a good surface to adhere to.
Paintbrushes and Rollers: When painting it is recommended to use a good quality paint brush especially when bubbling at edges and corners followed by the roller.
Painter’s Tape: This will assist you to achieve sharp edges round the trim, windows as well as door frames.
Drop Cloths: Prevent paint from dropping on the floor and other furniture[Original: Cover the floor and furniture to avoid paint drops].
Sandpaper: They used it in order to smoothen out any uneven areas in wall .
Putty and Putty Knife: It is used to patch up any gaps that might be found on the wall such as; It is used to fill up any gaps that may be found on the wall such as;
Also know about: living room wallpaper
Prepare the Room
The most important principle for carrying out an excellent paint job is preparation that needs to be done beforehand. Start by removing or covering furniture, light fixtures, and other items in the room:
Clear the Area: Clear the furniture off the walls and bring them to the center of the room and cover them with plastic sheets. Pull off any wall hangings and pictures as well as take out outlet covers and light switch plates.
Protect Surfaces: First, cover the floor with drop cloths so as to avoid dropping paint on the floor and next, use painter’s tape along walls, ceiling and any area that you do not wish the paint to reach.
Clean the Walls: Airborne debris may cause improper adhesion of the paint to the walls, so, clean the walls with a damp cloth or sponge. For walls with extraneous oils or for walls that have dirt deposits use mild soapy solution.
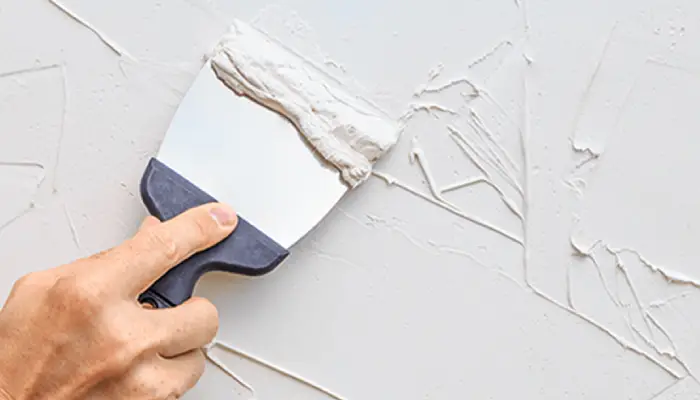
The Wall Requires repair as well as have to be put into Prime before proceeding with the Painting process.
Next, you’ll need to repair any imperfections on the wall and apply a primer to ensure a smooth and even paint finish:
Fill Holes and Cracks: In the process of preparing the walls for painting one has to use putty and a putty knife to cover the holes, the cracks and even the dents. Let the putty to dry properly then use fine grain sand paper so that the area is made smooth.
Sand the Walls: Gently scour the entire wall in order to take off any rough facets and make the surface of wall closer to the primer slightly rough. It is also important to clean the outer walls of the house and for this, the walls should be cleaned with water and a mop.
Read about: Modern partition for living room
Apply Primer: If it is done on a dark shade or on a new surface, start using a coat of paint primer to avoid issues of poor action of the paint and poor adhesion.
Now use the paintbrush and run it along the edge of the corner, to give the proper finish needed for the subsequent application of the primer, use the roller and apply the primer to the rest of the wall. After applying the primer wait until it dries depending on the instructions provided by the manufacturer.
Cut In Around the Edges And the Corners
After the primer is dry, it is now time to begin with painting. Begin by cutting in around the edges of the wall:
Use a Paintbrush: Take a nice palette knife and dip it into the paint and subsequently bang off excess paint. Begin along seams of the wall, for instance, where the wall joins with the ceiling, trims, or the corner.

This is known as ‘cutting in’ and what it does is to help make sure that when a second person is drawing on the same spot as the first person it is done in straight lines and does not mingle with the outline that has been previously made.
May you also like to read: Asian paint color combination for living room
Work in Sections: Made in one section at a time this only requires a space of 2-3 feet where painting will be carried out so that the paint does not dry up before the rolling is conducted.
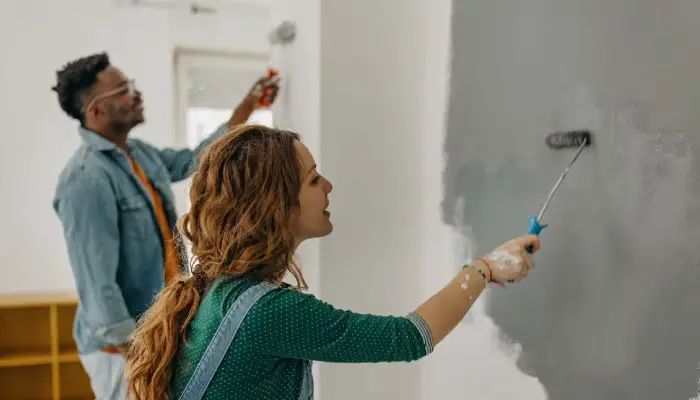
Swipe Roll Paint on the Wall
After cutting in, you can begin rolling paint onto the larger sections of the wall:
Load the Roller: Place paint into the paint tray and immerse the roller in the paint so it can be soaked in the paint. Do not press too much on the roller because this will result to a dripping effect.
Apply Paint: They then advice that while applying the paint it start at a central point and move outwards using a “W’ or ‘M” like pattern. This technique assists pass the paint around and does not leave marks known as lines.
Work in Small Sections: Then apply paint on the wall starting from one corner of the wall then move to the next up to when one side of the wall is completely painted before one can start on the next side using a coverage of one small section of the wall.
Proceed rolling until the whole wall has been coated and to enhance the appearance of the wall arrange the tiles in a pattern.
Maintain a Wet Edge: In order not to have marks where the strokes are laid particularly along the lap marks ensure that the subsequent section is wet before the preceding one. This means that you should always paint into the edge of section you just painted, meaning they are connected tightly.
Conclusion
It might sound quite easy to paint a given wall from top to bottom, following standard procedures, but the availability of time to do the proper job will definitely be very useful in that case in order to come up with the best finish that will match a professional painter.
So when painting let’s follow the following steps: preparing the room, repairing and priming the wall, cutting in, rolling on paint, and cleaning up you will get a nice job done and beautify your house walls. This guide contains all the information anyone needs to paint a wall including tips for DIY painters and professional painters.
Consider reading:-
